
Use even light, show the complete plate or bowl, and take the picture from an angle that preserves both surface area and height. Avoid blur, glare, heavy filters and overlapping foods. Include drinks and sides when practical, then correct portions, preparation, oils, sauces and fillings during review.
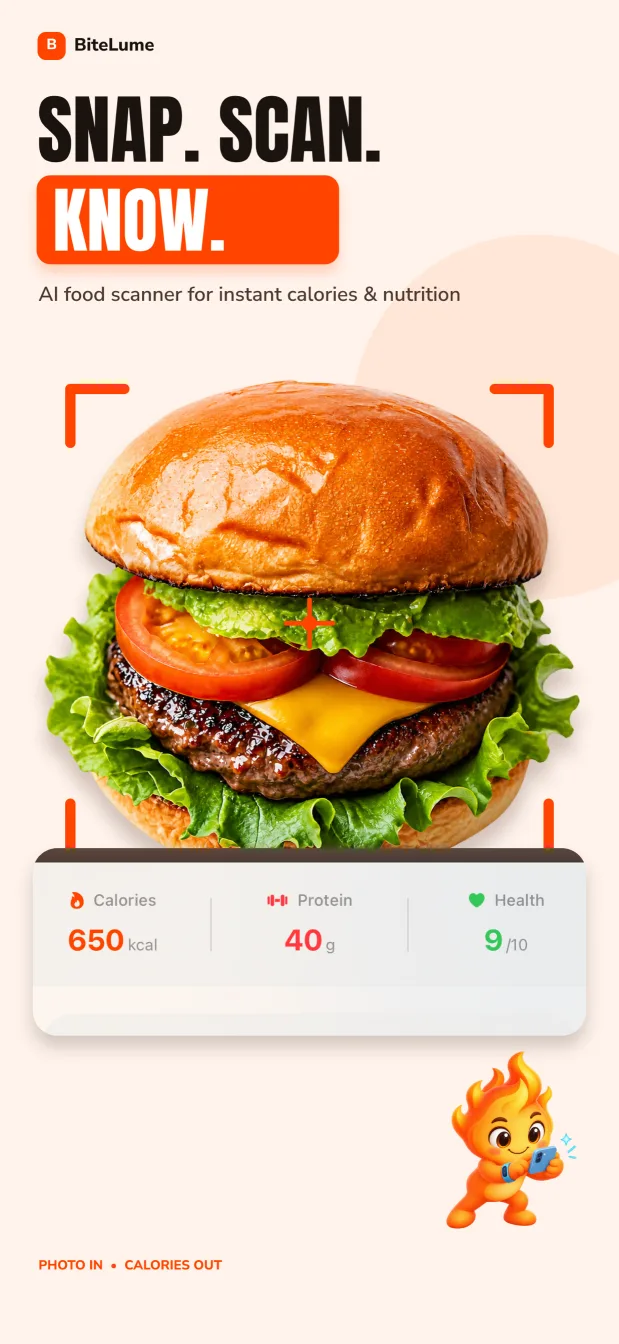
A scan-ready photo shows the complete meal
Start by documenting the whole eating occasion. A tight crop, shallow focus or low angle can hide the back of the plate, blur side dishes and remove useful clues about scale. Move the phone far enough away to show the complete serving while keeping individual foods clear.
Image-based dietary assessment typically involves at least two difficult tasks—recognizing foods and estimating portions. Research reviews describe ongoing challenges with segmentation, identification and food volume. Your photo cannot solve the full technical problem, but it can avoid adding preventable ambiguity.
Think like a documentarian. Show the whole eating occasion, keep boundaries visible and save the aesthetic crop for social media. The useful image is the one that helps you remember and correct the record later.
Related: Follow the complete photo-to-calorie workflow on iPhone
Start with even light and a steady, focused frame
Soft daylight near a window is usually easier to read than harsh backlight or a dim room. Avoid placing a bright window directly behind the plate, which can turn darker foods into silhouettes. At night, use the room’s light and hold the phone steady rather than relying on a close flash that creates glare on sauces and shiny packaging.
Tap the plate on your iPhone screen to set focus and exposure. Check the image once before eating: are the food edges sharp, or did the camera focus on a glass in the background? Retaking immediately costs seconds; discovering a blur during an evening log leaves no evidence to recover.
Skip color filters. They may make greens richer or shadows moodier, but they also change the visual signals the scanner receives. Natural-looking color is more informative than dramatic styling.
Choose an angle that shows area and height
A straight overhead photo shows how much of the plate each food covers, which is useful for flat or separated meals. It can hide height: a deep mound and a thin layer may occupy the same area. A very low side angle shows height but causes foreground foods to block what sits behind them.
For many plates, a slight diagonal angle is a practical compromise. Hold the phone far enough away to include the plate edge and close enough that individual foods remain clear. For a tall bowl, take a second overhead image if the contents are hidden. BiteLume uses one meal photo for its scan, so choose the image that reveals the most; keep an optional second photo for your own memory if needed.
There is no universally perfect camera angle. Soup, a layered sandwich and a divided plate present different information. The principle is visibility: show the shape of the portion without letting one component conceal another.
Swipe to see the full table
| Meal type | Useful view | Common problem |
|---|---|---|
| Separated plate | Slight angle or overhead | Plate edge cropped out |
| Deep bowl | Diagonal plus optional overhead reference | Depth and contents hidden |
| Sandwich or burger | Diagonal with filling visible | Top bun hides sauces and layers |
| Buffet or shared table | Your serving on one plate | Shared dishes mistaken for your portion |
Give the image clues about scale and food boundaries
Portion estimation benefits from a reference. The National Cancer Institute’s ASA24 system maintains a large portion-size image database linked to USDA portions, illustrating how important standardized visual comparisons are in dietary assessment. At home, the visible rim of a familiar dinner plate, a standard fork or a clearly sized package can supply context.
Do not add a random object and assume the app knows its dimensions. Instead, preserve ordinary context and correct the portion during review. If you switch between a small side plate and an oversized bowl, tell the log what changed.
Separate foods where practical. Spread chicken pieces enough to show their number, place dressing cups beside the plate and avoid stacking bread over the side dish. You do not need to redesign dinner—just uncover major components for a few seconds before the photo.
Photograph the whole meal, including the easy-to-forget parts
A close-up of the entrée may omit the latte, juice, bread, dipping cup or handful eaten while cooking. Move those items into the frame when they are part of the same eating occasion. If something arrives later, log it separately or take another memory photo.
For shared dishes, plate your portion before photographing. A family-style pan shows what was available, not what you ate. For seconds, capture or add the extra amount. If you leave a meaningful portion, use an after photo to help correct the record.
This whole-meal habit is valuable even when food recognition is uncertain. An image-assisted dietary assessment review found that images can reveal foods omitted from traditional self-report. The photo becomes a prompt for a more complete account, not only an input to an algorithm.
- Keep the full plate or bowl edge visible.
- Include caloric drinks, sides, sauces and toppings.
- Photograph your serving rather than the shared container.
- Record seconds and correct meaningful leftovers.
Give mixed and hidden foods an extra line of context
Curries, casseroles, smoothies, soups and burritos conceal ingredients. A sharp image still cannot identify the amount of coconut milk in a curry or whether a smoothie contains nut butter. When you know the recipe, use it. When you do not, choose the closest dish description, adjust the portion and treat the result as a range.
For a sandwich, briefly lift the top layer or position the cut side toward the camera. For salad, show the dressing container or note whether it was already tossed. For fried or roasted foods, add the cooking method during review. These facts often matter more than another attempt to find ideal lighting.
Your meal log is not worth blocking a restaurant aisle, handling hot cookware or photographing other people. Plate the food safely and respect privacy.
Use a 20-second BiteLume photo-and-review routine
Open BiteLume when the whole meal is present. Move the phone until the plate edge and extras fit, tap to focus, take the photo and inspect it once. After the scan, check the recognized foods, portions, preparation and invisible ingredients. Replace any confident mismatch instead of repeatedly retaking the same ambiguous dish.
Save only after adding what the photo could not know. With practice, this becomes a brief pause rather than a production. For the full action sequence, see the guide to counting calories from a photo; for improving a visual record over time, use the photo food diary guide. Better evidence plus an honest review is the combination that makes a meal photo useful.
- Frame the complete meal in even light.
- Keep scale cues and major food boundaries visible.
- Tap to focus and take one clear image.
- Review identity, portions, preparation and hidden extras.
- Correct what you know, then save the estimate.
Questions people also ask
What is the best angle for an AI food scan?
For many plates, a gentle diagonal angle shows both the area and height of the food. An overhead view can work well for flat, separated meals, while a deep bowl may need more visible depth.
Does better lighting make a calorie scan more accurate?
Even light can make food boundaries and details easier to recognize, but it cannot reveal exact weight, oil, sauce quantities or hidden ingredients. Lighting improves the evidence, not certainty.
Should drinks and sauces be in the meal photo?
Include calorie-containing drinks, sides and sauces when practical. If they do not fit clearly, add them separately during review rather than crowding or obscuring the main plate.
Make the next meal easier to track.
Use a photo to get a calorie and macro starting point, review the details, and keep your progress in one place.
Download on theApp Store